Unity
Get started using Resonance Audio in Unity. This guide shows you how to:
- Set up Unity for development with Resonance Audio.
- Explore how Resonance Audio components render realistic spatial audio in a demo scene.
- Add Resonance Audio components to your scenes.
- Upgrade projects with Google VR SDK audio components to Resonance Audio.
Set up your development environment
Software requirements:
-
Install Unity 2017.1 or newer.
-
Download the latest
ResonanceAudioForUnity_*.unitypackagefrom the releases page.The download includes a demo scene that you will explore in this guide.
Create a new Unity project and import the SDK
-
Open Unity and create a new 3D project.
-
Select Assets > Import Package > Custom Package.
-
Select the
ResonanceAudioForUnity_*.unitypackagefile that you downloaded. -
In the Importing Package dialog, click Import. Accept any API upgrades if prompted.
Configure your Unity project to use Resonance Audio
-
Use Edit > Project Settings > Audio to open the AudioManager settings.
-
Select Resonance Audio as the Spatializer Plugin.
-
Select Resonance Audio as the Ambisonic Decoder Plugin.
Try out the Resonance Audio demo
The Unity software package includes a simple demo scene in which you look for a cube that moves around the scene when you click on it.
-
In the Unity Project window, go to Assets > ResonanceAudio > Demos > Scenes and double-click
ResonanceAudioDemo. -
Make sure to wear headphones to experience the spatialized audio. Click Play in the Unity Editor. You should hear the cube sound played back in the scene.
-
Interact with the scene using your mouse:
- Left-click in the Game view and move the mouse to look around the scene. Listen to the audio clip from different directions.
- In the Game view, left click on the cube to “teleport” it around the scene.
Resonance Audio components
The Resonance Audio SDK for Unity includes the following components for rendering spatial audio.
| Component / Prefab name | Description |
|---|---|
| ResonanceAudioListener |
|
| ResonanceAudioSource |
|
| ResonanceAudioSoundfield |
|
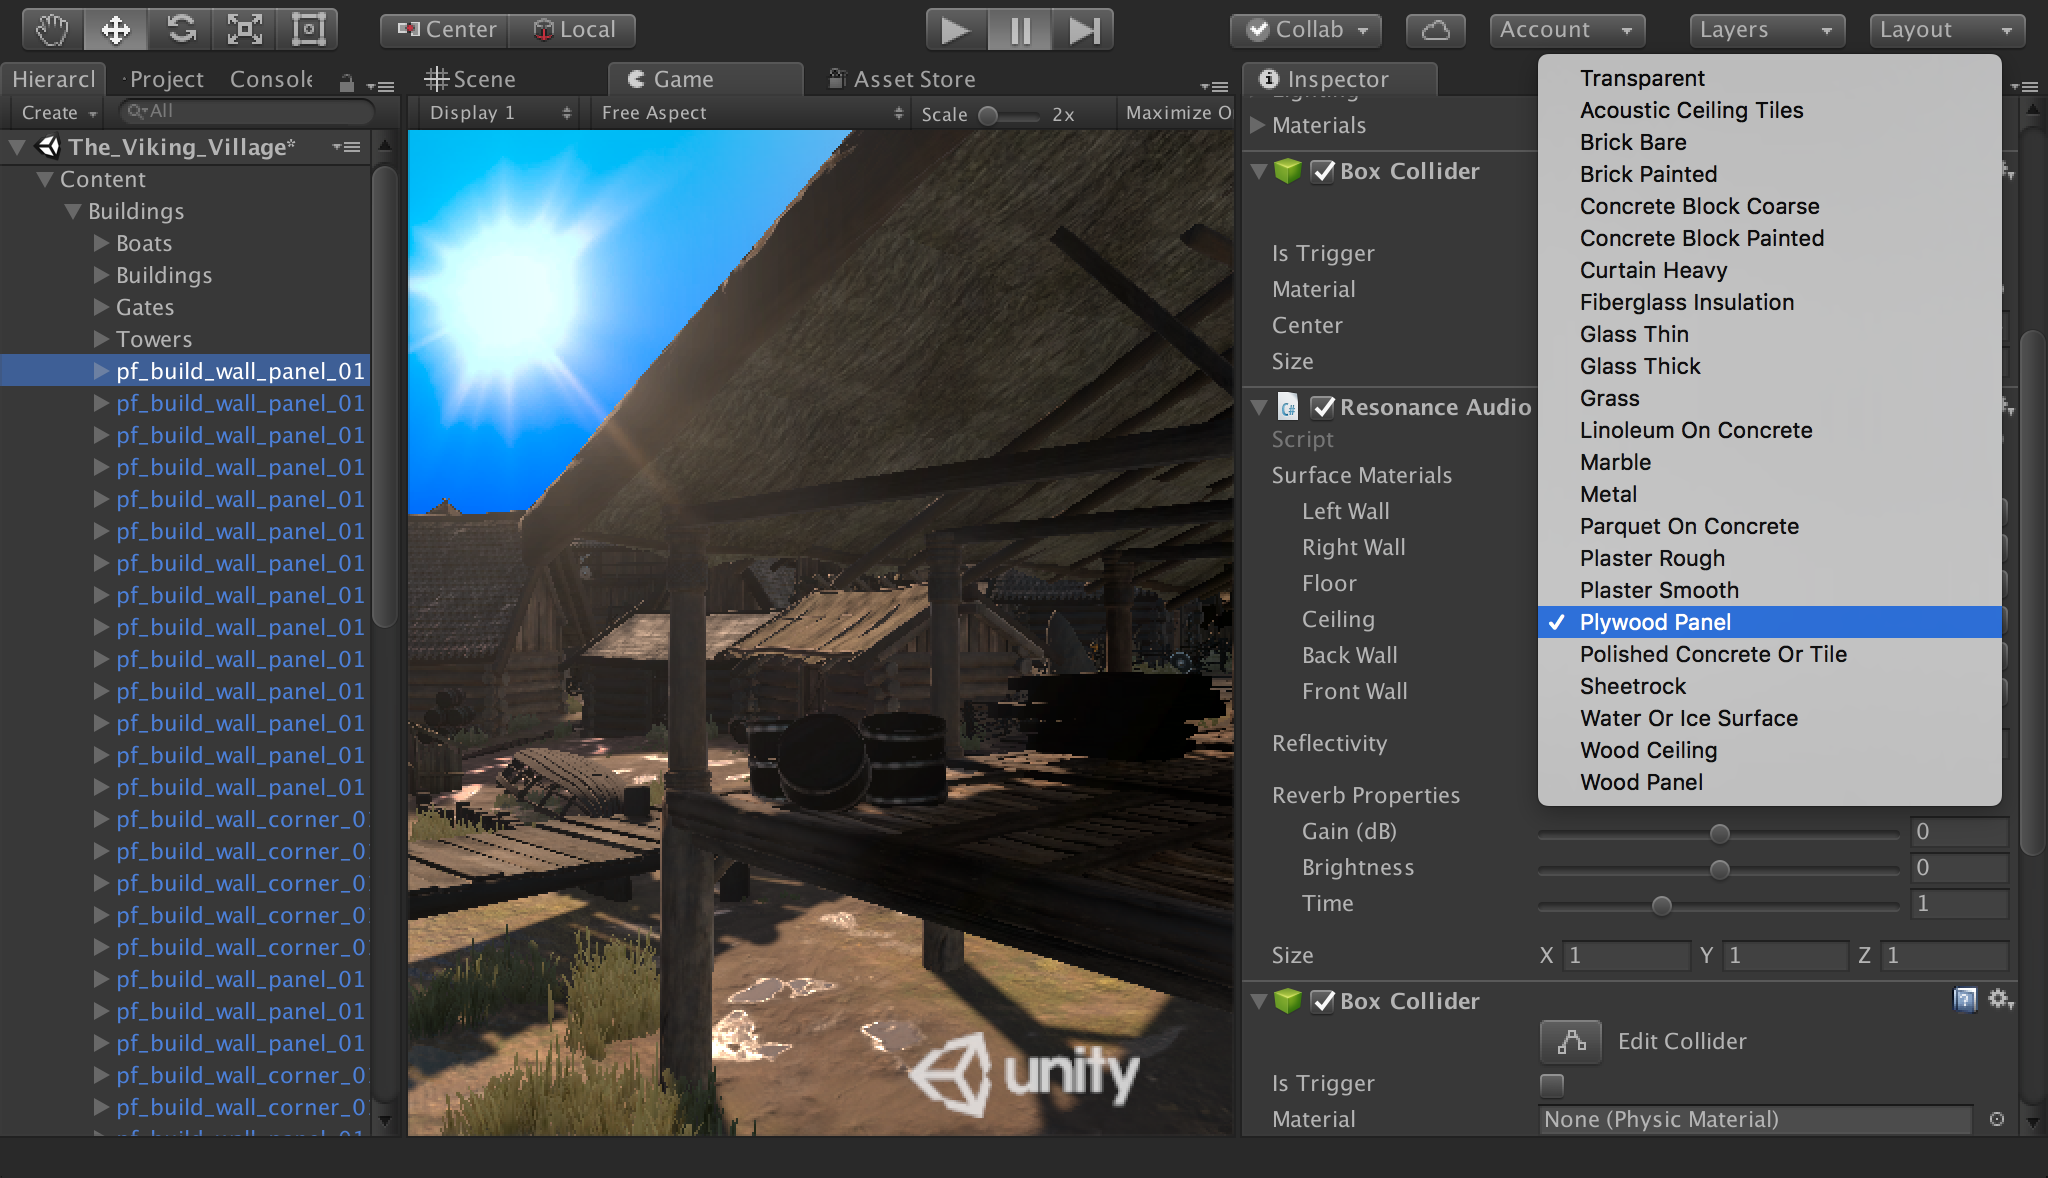
| ResonanceAudioRoom |
|
| ResonanceAudioReverbProbe |
|
Learn more about adding these components to your projects in the Developer Guide for Resonance Audio for Unity.
Upgrading existing projects from Google VR audio components
Upgrade existing projects from Google VR audio components to Resonance Audio (Requires Unity 2017.1 or later).
The new Resonance Audio SDK components have similar functionality and configuration properties to those in the Google VR SDK.
Upgrading to Resonance Audio requires updating the Unity project’s audio settings, replacing the Google VR SDK audio components with corresponding Resonance Audio components, and then copying component properties accordingly.
Update the project audio settings and replace Google VR components
-
Use Edit > Project Settings > Audio to open the AudioManager settings.
-
Select Resonance Audio as the Spatializer Plugin.
-
Select Resonance Audio as the Ambisonic Decoder Plugin.
GvrAudioListener
-
Add a new
ResonanceAudioListenercomponent attached to the Main Camera. -
Copy the
GvrAudioListenersettings, such as the global gain and occlusion mask, to the newly createdResonanceAudioListener. Note that the global quality option is now replaced by a real-time source based rendering quality setting inResonanceAudioSourcecomponent.Additionally, a runtime setting to enable the stereo speaker mode option has been added. This option allows all sources to be rendered with stereo panning.
-
Remove the
GvrAudioListenercomponent from the game object. -
For additional details, review Add an audio listener to your scene in the Developer Guide for Resonance Audio for Unity for more details.
GvrAudioSource
-
Add a new
ResonanceAudioSourcecomponent to the game object that contains theGvrAudioSourcecomponent you want to replace.Unity automatically adds a standard AudioSource component to the game object if one does not already exist.
-
Copy the
GvrAudioSourceproperties:-
Copy the standard audio source properties, such as mute or volume, to the
AudioSourcecomponent. -
Copy values specific to spatial audio, such as directivity, to the
ResonanceAudioSource. -
Note that the
GvrAudioSource’s Enable HRTF option is now replaced by source based rendering Quality in Resonance Audio.
-
-
Remove the
GvrAudioSourcecomponent from the game object. -
For additional details, review Add a sound source to your scene in the Developer Guide for Resonance Audio for Unity.
GvrAudioSoundfield
Resonance Audio uses the same ResonanceAudioSource component for sound sources
and Ambisonic soundfields.
Note that with the introduction of Ambisonic decoder plugins in Unity, it is no longer necessary to provide separate stereo tracks as audio clips.
-
Add a new
ResonanceAudioSourcecomponent to the game object that contains theGvrAudioSoundfieldcomponent you want to replace.Unity automatically adds a standard AudioSource component to the game object if one does not already exist.
-
Copy the
GvrAudioSoundfieldproperties to the newly createdAudioSourceandResonanceAudioSourcecomponents. -
Remove the
GvrAudioSoundfieldcomponent from the game object. -
For additional details, review Add an Ambisonic soundfield to your scene in the Developer Guide for Resonance Audio for Unity.
GvrAudioRoom
-
Add a new
ResonanceAudioRoomcomponent to the game object that contains theGvrAudioRoomcomponent you want to replace. -
Copy the
GvrAudioRoomproperties to the newly createdResonanceAudioRoomcomponent. -
Remove the
GvrAudioRoomcomponent from the game object. -
For additional details, review Add an audio room to your scene in the Developer Guide for Resonance Audio for Unity.
Delete Google VR audio assets and libraries
-
Delete the Google VR audio libraries:
Assets/GoogleVR/Plugins/Android/libs/armeabi-v7a/libaudioplugingvrunity.so Assets/GoogleVR/Plugins/Android/libs/x86/libaudioplugingvrunity.so Assets/GoogleVR/Plugins/iOS/libaudioplugingvrunity.a Assets/GoogleVR/Plugins/x86/audioplugingvrunity.dll Assets/GoogleVR/Plugins/x86_64/audioplugingvrunity.bundle Assets/GoogleVR/Plugins/x86_64/audioplugingvrunity.dll Assets/GoogleVR/Plugins/x86_64/libaudioplugingvrunity.so -
Delete the Google VR audio Objective-C (iOS) assets:
Assets/GoogleVR/Plugins/iOS/GvrAudioAppController.h Assets/GoogleVR/Plugins/iOS/GvrAudioAppController.mm -
Delete the Google VR audio mixer asset:
Assets/GoogleVR/Legacy/Resources/GvrAudioMixer.mixer -
Verify that your scenes do not make use of any Google VR audio components.
For each scene in your project, try each of the following searches in the Hierarchy view’s search field:
t:GvrAudioListenert:GvrAudioRoomt:GvrAudioSoundfieldt:GvrAudioSource -
Verify that your prefabs do not make use of any Google VR audio components:
-
Use
t:prefabin the Project view’s search field to identify all prefabs in your project -
Examine each prefab to ensure it doesn’t make use of any Google VR audio components.
-
-
Verify that your scripts do not make use of any Google VR audio components.
-
(Optional) Delete unused Google VR audio prefabs:
Assets/GoogleVR/Legacy/prefabs/Audio/GvrAudioRoom.prefab Assets/GoogleVR/Legacy/prefabs/Audio/GvrAudioSoundfield.prefab Assets/GoogleVR/Legacy/prefabs/Audio/GvrAudioSource.prefab -
(Optional) Delete unused Google VR audio scripts:
Assets/GoogleVR/Legacy/Editor/Audio/GvrAudioListenerEditor.cs
Assets/GoogleVR/Legacy/Editor/Audio/GvrAudioRoomEditor.cs
Assets/GoogleVR/Legacy/Editor/Audio/GvrAudioSoundfieldEditor.cs
Assets/GoogleVR/Legacy/Editor/Audio/GvrAudioSourceEditor.cs
Assets/GoogleVR/Legacy/Scripts/Audio/GvrAudio.cs
Assets/GoogleVR/Legacy/Scripts/Audio/GvrAudioListener.cs
Assets/GoogleVR/Legacy/Scripts/Audio/GvrAudioRoom.cs
Assets/GoogleVR/Legacy/Scripts/Audio/GvrAudioSoundfield.cs
Assets/GoogleVR/Legacy/Scripts/Audio/GvrAudioSource.cs
Next steps
-
See the Resonance Audio for Unity Developer Guide to learn about using Resonance Audio Room Effects and Reverb Probes for realistic environmental audio.
-
See the Resonance Audio SDK for Unity API Reference for complete details on components and scripts in the SDK.